
Last updated October 17, 2026
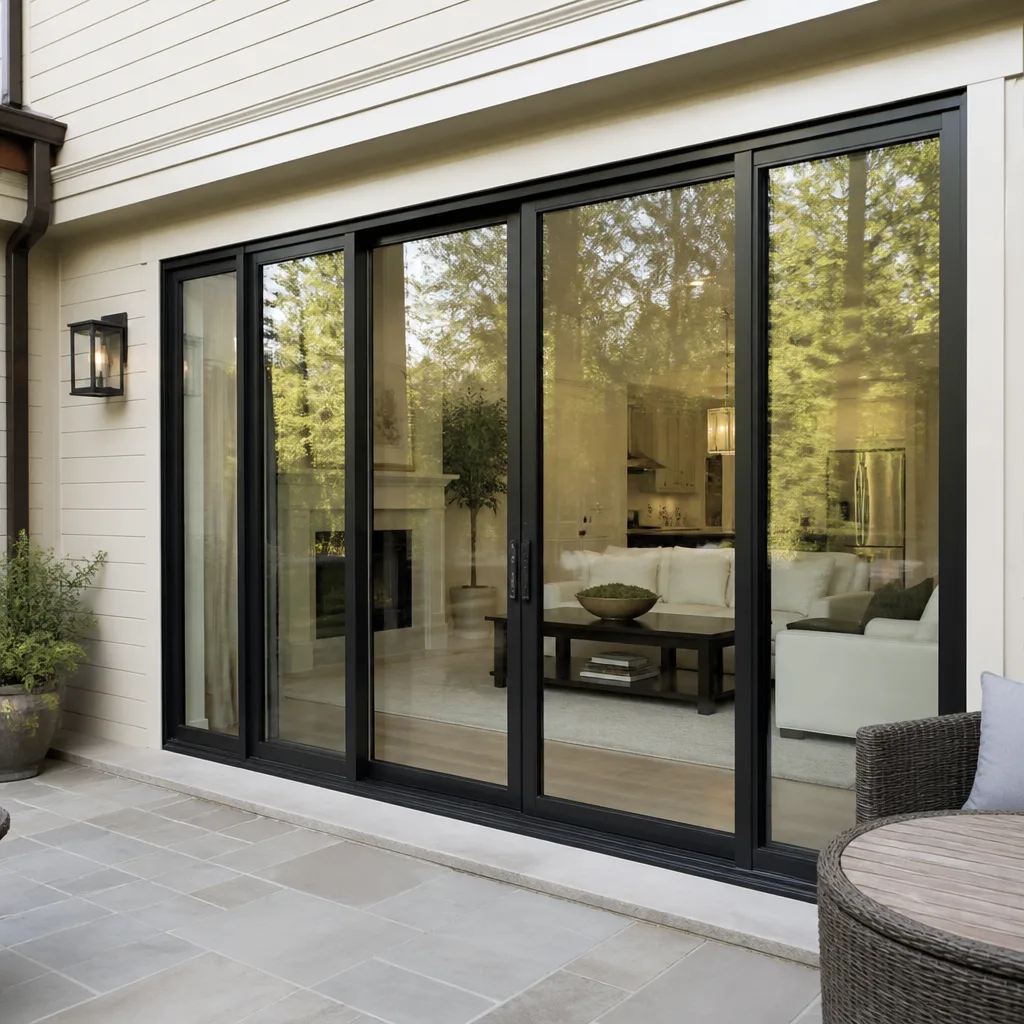 Sliding glass doors
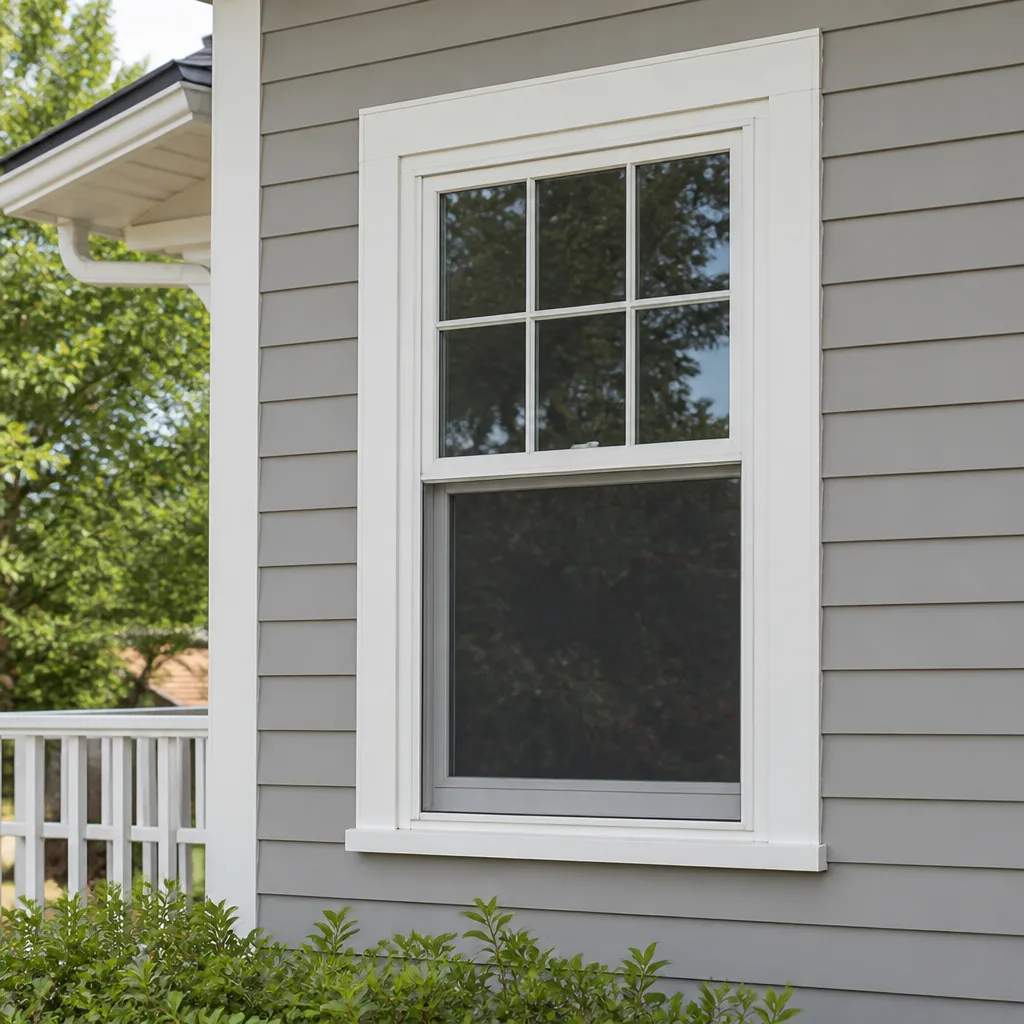 Single hung
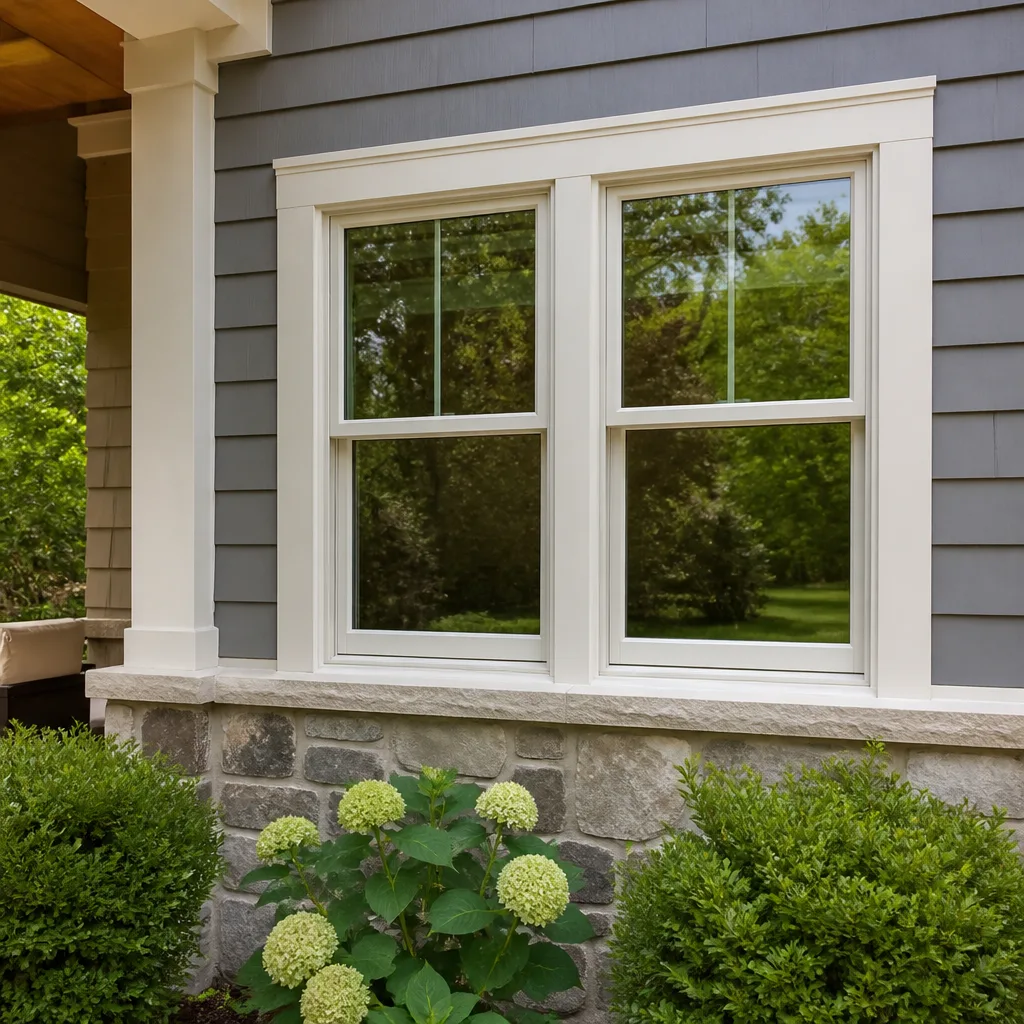 Double hung
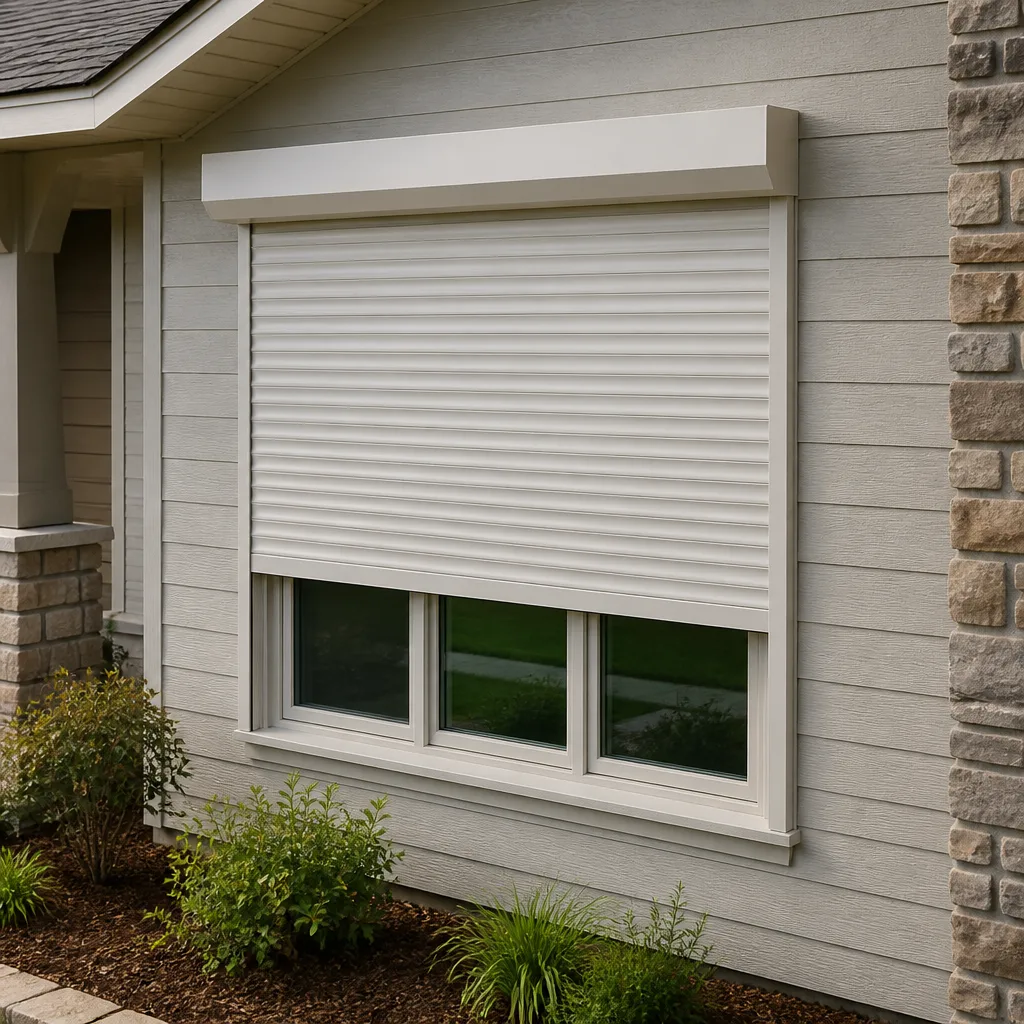 Horizontal roller
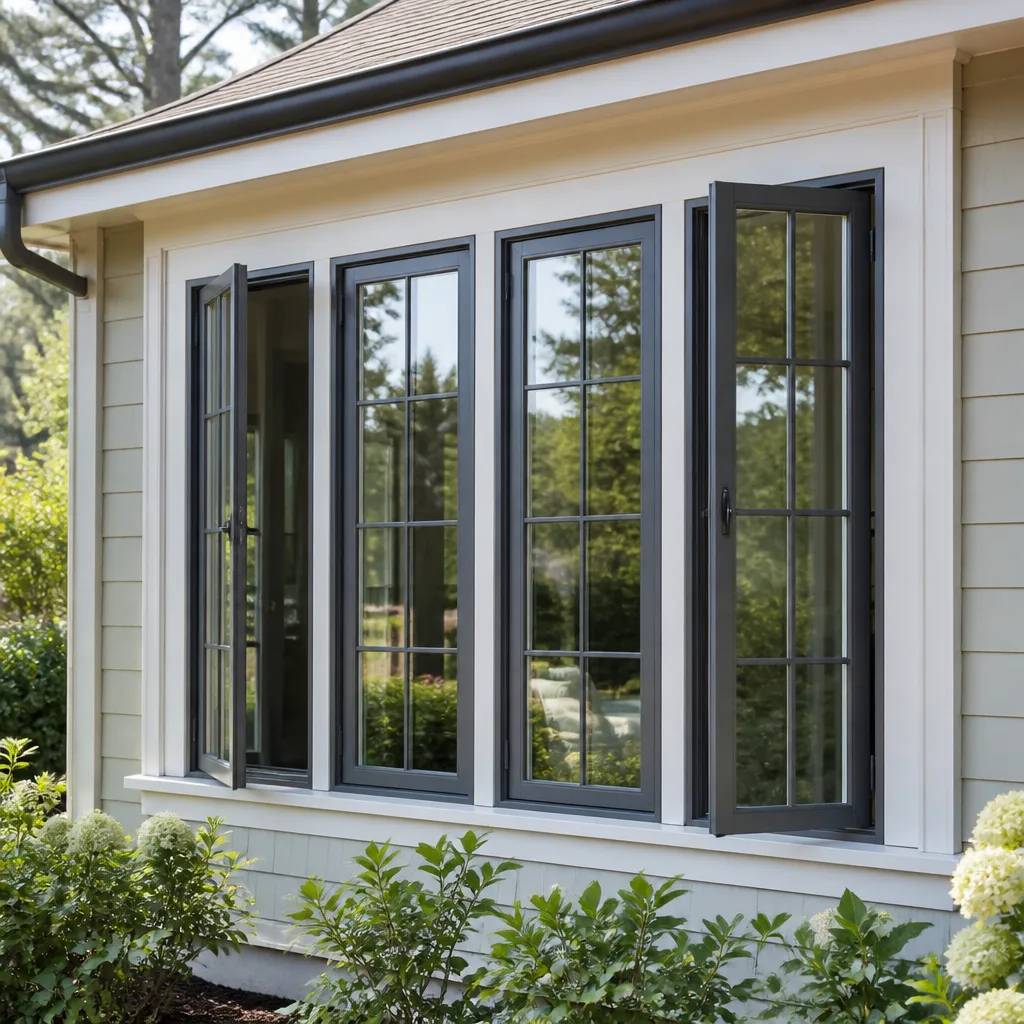 Casement
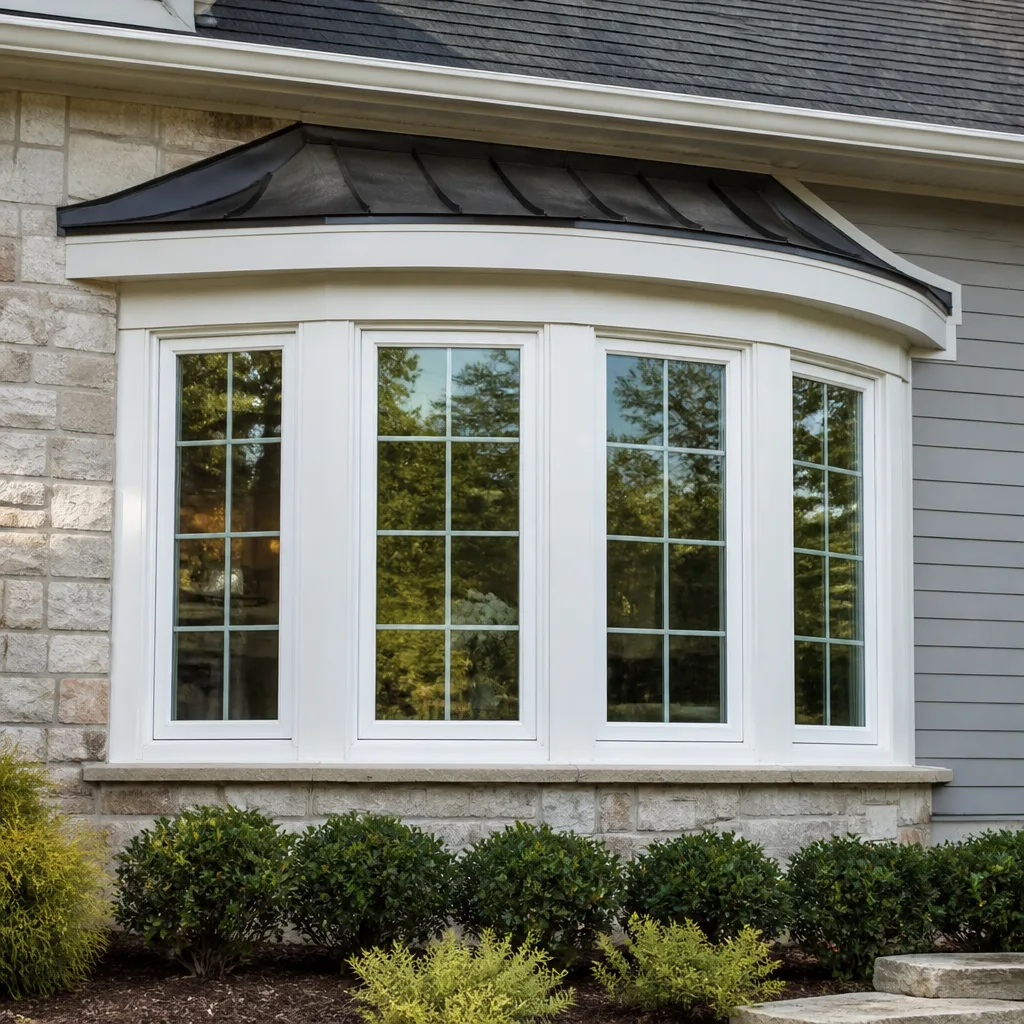 Bay & bow
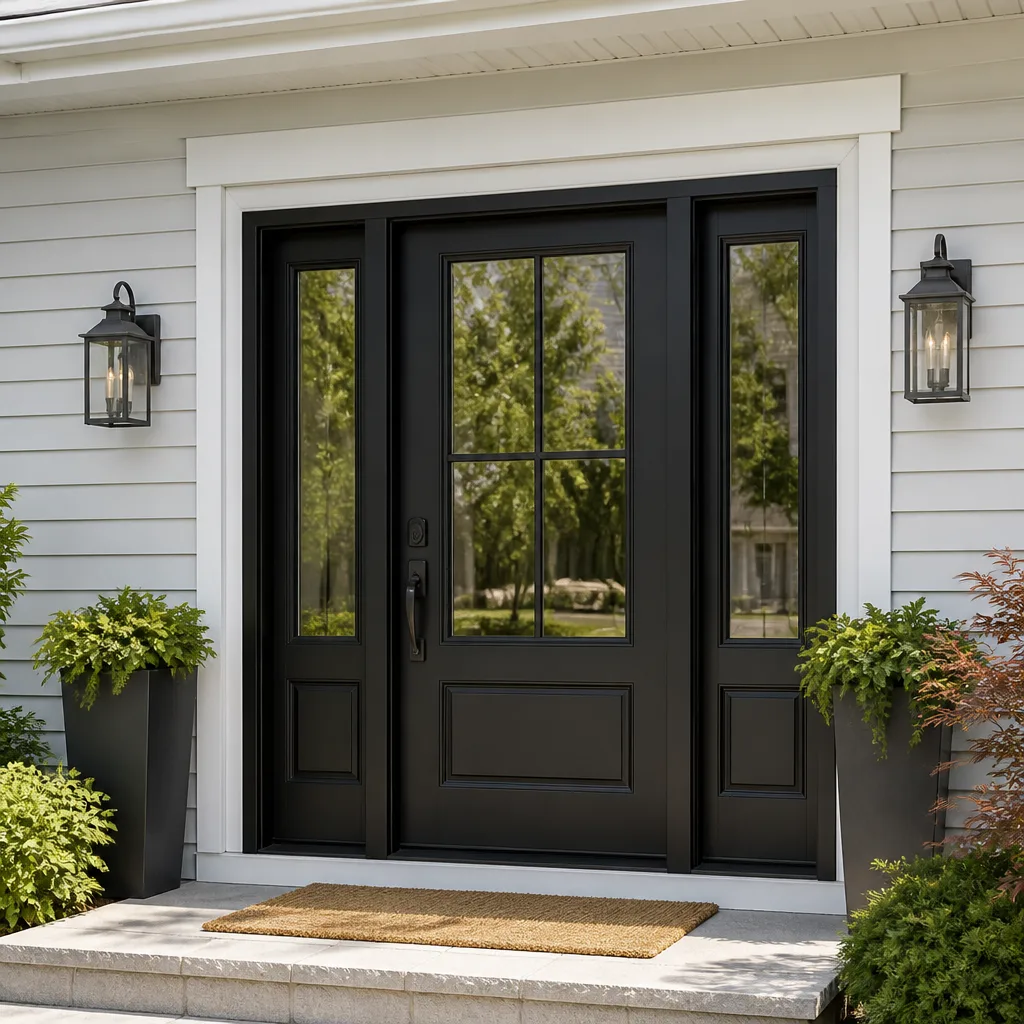 Entry doors
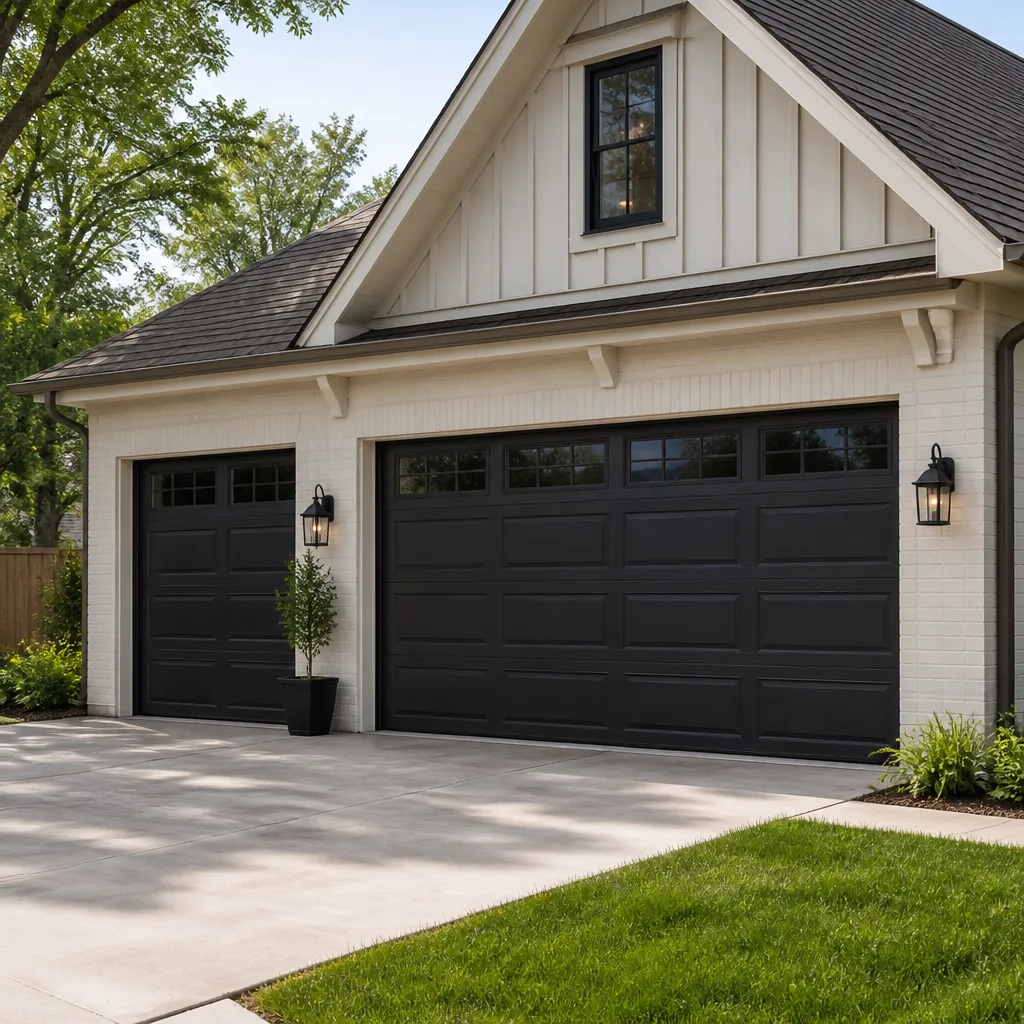 Impact garage doors
 PGT
PGT CGI
CGIFree in-home measure and quote - PGT, CGI and CWS impact lines compared on your actual openings, style by style
Get your free estimateDIY vs Professional Windows & Doors: The Ventura Homeowner’s Decision Guide
A homeowner who successfully installs a window in Phoenix can follow the identical steps in Ventura and end up with a failed installation. Not because the technique was wrong, but because coastal flashing details, corrosion-resistant fasteners, and sill drainage slopes that matter in a marine environment weren’t part of any YouTube tutorial they watched. This guide walks through the real decision points: permits, water damage, warranty language, and what a Ventura homeowner actually saves or spends either way. By the end, you will know which jobs are reasonable to attempt and which ones quietly turn into five-figure fixes.
Styles & brands we work with
Quick Answer
For most Ventura homeowners, installing windows and doors is a professional job when the project requires a permit, touches an opening with existing rot or water damage, sits above the first story, or involves a product whose manufacturer warranty demands licensed installation. Interior trim, painting, hardware adjustments, and weatherstripping are legitimate DIY tasks that trim the contractor’s scope without touching the permitted work. Call a licensed contractor if any of the four red-flag conditions in this guide apply to your opening, or read our How to Hire a Windows & Doors Contractor in Ventura: A Step-by-Step Guide first.
Table of Contents
- The Four Conditions That Decide DIY vs Professional
- What a Licensed C-17 Glazing Contractor Carries That a DIYer Cannot Replicate
- The Coastal Installation Details Most DIY Guides Omit
- An Honest Cost Comparison for Ventura Homeowners
- The Middle Path: Legitimate DIY Tasks That Shrink the Bill
- The Permit Reality in Ventura: Who Pulls It, Who Owns It
- The Warranty Question Nobody Reads Until It’s Too Late
- Common Mistakes to Avoid
- When to Call a Professional
- Frequently Asked Questions
- The Bottom Line
The Four Conditions That Decide DIY vs Professional
The DIY-versus-professional question in Ventura is rarely about how handy you are. We have watched meticulous homeowners with a full tool chest wrestle a single window for a weekend, and we have watched experienced carpenters stop mid-job when they found what was hiding behind the stucco. What actually determines whether a window or door project is DIY-possible comes down to four conditions that no amount of skill overcomes.
- A permit is required. In Ventura, any window or door replacement that changes the rough opening size, alters structural framing, or creates a new opening requires a building permit. That means enlarging a kitchen window, converting a window to a sliding door, or cutting in a new sidelight all pull you into the permit system. A homeowner can technically pull their own permit, but doing so transfers the liability for code compliance onto you, and the inspector will hold your work to the same standard as a licensed contractor’s. Most homeowners discover that the permit process is where their time and patience actually get spent, not the installation itself.
- Existing rot or water damage is present. In Ventura’s coastal climate, especially in older neighborhoods near the ocean and in midtown pockets, we regularly see window sills and rough openings with water damage that was never visible until the old window came out. Once the unit is out and the framing is exposed, the scope changes mid-project. A DIYer who finds a rotted sill at 4 p.m. on a Saturday has a structural problem, not a window problem. A licensed contractor has the experience to assess the damage, sister in new framing if needed, and pull the permit modification that the repair might require.
- The opening is above the first story. Any window or door above reachable height changes the safety picture entirely. Working on a ladder with a 50-to-90-pound window unit in a coastal breeze is not like doing it on the ground floor. A fall from a second-story window opening is a life-altering event. Professional crews have scaffolding, lift equipment, and fall protection systems. This is not about skill. It is physics.
- The manufacturer warranty requires licensed installation. This is the one almost no homeowner checks before buying. Several of the brands we work with, including PGT, CGI, and Therma-Tru, write installation requirements directly into their warranty literature. Some state that improper or unlicensed installation voids the glass seal failure warranty or reduces the coverage period. If you are buying a premium window or door for a Ventura home, read the warranty language before deciding who installs it. The product warranty and the installation quality are tied together in ways that don’t show up on a box-store receipt.
If none of those four conditions apply to your project, a careful DIYer can often handle a simple, ground-floor, like-for-like replacement where the opening is clean and square. But in our experience in Ventura, that describes fewer projects than homeowners expect. Before you commit, walk through each of the four conditions above and answer honestly. If even one flags, the math changes.
What a Licensed C-17 Glazing Contractor Carries That a DIYer Cannot Replicate
There are three specific things a licensed C-17 glazing contractor in California carries that no amount of homeowner preparation can replicate: liability insurance on the installation itself, CSLB accountability, and the legal ability to pull permits in the contractor’s name and stand behind the work when the inspector shows up.
The insurance point matters more than most people think. If a window installed by a homeowner leaks and damages a wall, the homeowner’s policy may or may not cover the resulting water damage, and it will not cover the window installation itself. If a licensed contractor’s installation fails, their liability insurance is on the line. That changes the financial risk picture entirely. In Ventura, where wind-driven rain against west-facing openings is a real thing from November through March, a failed flashing job is not a hypothetical. It is water inside the wall cavity by spring.
The CSLB accountability point is simpler: a licensed contractor has a license number you can verify, a bond, and a disciplinary record that follows them. If a dispute arises, there is a formal complaint process and a bond to draw against. A DIYer has no recourse against themselves, and a handyman working without a license can walk away with no obligation to return. Before you hire anyone in Ventura, check their license on the CSLB website. If they don’t have a C-17 or B license and they’re touching windows or doors, you are hiring legal gray area.
The permit point is the one most homeowners misunderstand. A homeowner can pull their own permit for their own residence, yes. But once you do, you are the contractor of record. The inspector will ask you questions about flashing details, drainage planes, and fastener specifications. If you can’t answer, the inspection fails, and you schedule another one. Each inspection cycle costs time, and Ventura’s building department, like most in Southern California, runs on schedules that don’t bend around a DIY weekend. A licensed contractor pulls the permit in their name, takes the inspection call, and is legally responsible for what the inspector finds.
None of this is a knock on competent DIYers. It is a description of the asymmetry in accountability. The moment the project involves a permit, the accountability shifts from “I’ll do my best” to “somebody has to own this legally.” For most homeowners, that is exactly the moment the professional becomes the cheaper option, even before touching any materials.
The Coastal Installation Details Most DIY Guides Omit
Most YouTube window installation tutorials are filmed in inland climates where the primary enemy is heat, not moisture and salt. Ventura sits in a marine environment. That means the air carries moisture and salt, the winter brings wind-driven rain, and the temperature swings are smaller than the desert but the corrosion risk is constant. Three installation details separate a coastal window job from an inland one, and they are precisely the details most DIY guides omit-details we cover in our Seasonal Windows & Doors Care for Ventura: Year-Round Homeowner’s Guide.
Sill pan slope. The sill pan under a window is supposed to direct any water that gets past the exterior seal toward the outside, not into the wall. In a dry climate, a flat sill pan might survive for years simply because so little water reaches it. In Ventura, a flat sill pan on a west-facing window will collect water during a winter storm and hold it against the framing. The correct detail is a sloped sill pan with a back dam, and the slope has to be created before the window goes in. Most DIY videos show the window set directly onto the rough opening sill with a bead of caulk. That detail fails in a coastal climate. Inspectors in Ventura check for this.
Backer rod and caulk sequencing. The exterior seal on a window is not one bead of caulk. It is a three-part sequence: backer rod inserted into the gap to create the right depth, then a sealant applied over it that can flex with the building’s movement, then a tooled joint that sheds water. Most DIYers skip the backer rod and overfill the gap with caulk, which then cracks within eighteen months as the building expands and contracts. In a marine environment with salt in the air, a cracked seal is an open invitation for moisture. The sequence matters, and it is the kind of detail that gets covered in the warranty fine print.
Corrosion-resistant fastener specification. Standard zinc-coated screws corrode faster within a mile of the ocean than they do thirty miles inland. Coastal installations call for stainless steel fasteners on the interior and exterior, and some manufacturers specify the exact grade in their installation manuals. If you buy a PGT or CGI coastal-rated window, the manufacturer will state the required fastener material. Installing with the wrong screws can void the warranty and, worse, the screws can fail structurally after a few seasons of salt air. This is not a detail that shows up in a generic tutorial.
These three details are not academic. We have opened walls in Ventura homes where a DIY window installation from a few years prior had let water run down the inside of the wall cavity, rotting the king studs and the header. The window looked fine from the inside and outside. The damage was invisible until the wall came apart for a remodel. Coastal installation is a different craft than inland installation, and the DIY tutorials rarely acknowledge that.
An Honest Cost Comparison for Ventura Homeowners
The most common reason a Ventura homeowner considers DIY window or door installation is cost. Anyone who has received a quote for Window Replacement in Ventura has seen numbers that make a DIY project look attractive. Let’s break down what a DIY installation actually costs once you account for everything, not just the window unit itself.
Here is a realistic comparison for a standard 36-inch by 60-inch vinyl or aluminum window on the first floor of a Ventura home, assuming no permit is required because it’s a like-for-like swap with no structural changes:
- Mid-range window unit: $300 to $600 at a box store or lumberyard.
- Flashing tape, sill pan, backer rod, sealant, shims, fasteners: $60 to $120.
- Tool rental or purchase (break bar, oscillating saw, level, caulking gun, foam gun): $80 to $200 if you don’t own them already.
- Disposal of the old unit: $25 to $75 at a transfer station, plus your time and gas.
- Total out-of-pocket DIY cost: roughly $465 to $995 per window.
A professional Window Installation in Ventura for the same opening typically runs between $800 and $1,800 per window including the unit, installation labor, materials, cleanup, and the installer’s workmanship warranty. If a permit is required, add $150 to $400 in city fees and plan-check time.
On paper, the homeowner saves roughly $335 to $805 per window on a first-floor, no-permit, no-rot, clean-opening swap. That is real money if you have five windows to replace and you’re skilled. But the hidden costs show up when the job goes sideways:
- Water damage callbacks: A window that leaks into the wall may not show symptoms for two or three years. By then, the fix requires opening the wall, repairing framing, re-flashing, and reinstalling. $1,500 to $5,000 per affected opening is a realistic Ventura range.
- Warranty voidance: If the manufacturer warranty requires licensed installation and you installed it yourself, the glass seal failure you discover at year four is your expense. A replacement insulating glass unit for a standard window runs $150 to $400 plus the labor to install it, if you can find the matching unit.
- The day you lose: A first-time window swap takes most homeowners six to eight hours per opening, including trips to the store for forgotten items. When you multiply that by your hourly earning power, the savings shrink fast.
The honest answer is that DIY starts to make financial sense for someone with prior carpentry experience swapping a first-floor, like-for-like window in a clean opening with no permit. For everyone else, the savings evaporate the first time something does not go according to plan. And in Ventura’s older housing stock, something usually does not go according to plan.
The Middle Path: Legitimate DIY Tasks That Shrink the Bill
There is a middle path between doing the whole installation yourself and hiring a contractor for every single piece of the project. Homeowners in Ventura ask us about this all the time: what can we do ourselves to lower the bill without touching the parts that could damage the house? The answer is more than most people think.
These tasks are legitimate DIY scope for a competent homeowner, and they directly reduce the hours a contractor spends on your project:
- Removing and reinstalling interior trim and casing. Trim work is cosmetic, not structural. If you’re comfortable with a pry bar and a finish nailer, pulling the interior casing before the crew arrives and reinstalling it after they leave can save several hours of billable time per opening. Just label each piece so it goes back where it came from.
- Painting the new interior trim and exterior trim after installation. Paint prep and painting are time-intensive but low-risk. If you want a specific color match on the new window frame or door jamb, doing the painting yourself is a perfectly reasonable way to shrink the scope.
- Adjusting door hardware. A new door that binds slightly at the latch plate is a ten-minute adjustment with a screwdriver. A new door with a deeper alignment problem is the contractor’s job under their workmanship warranty. The line is subtle: minor tightening and strike-plate adjustment are DIY; anything involving the hinge mortises or the slab itself belongs to the installer.
- Swapping weatherstripping on existing windows and doors. Replacing worn felt, foam, or V-strip weatherstripping on windows and doors that are not being replaced is a straightforward maintenance task. This is exactly the kind of annual upkeep that keeps your existing openings performing well between larger projects.
- Caulking and sealing interior gaps around windows that are not being replaced. Interior-only caulking for air sealing around existing trim is low-risk and genuinely helpful for energy efficiency. Exterior caulking on the new installation should be left to the installer, because that seam is part of the water management system.
None of these tasks touch the permitted installation, the flashing, the structural opening, or the warranty. They all reduce the contractor’s billable scope by a meaningful amount. If you want to put your hands on the project while protecting the envelope of your home, this is the way to do it.
If you’re working with a company like ours, ask before you start any DIY scope. Some installers will not warranty work they didn’t complete end to end, and you want that in writing. Others are happy to hand off the trim and painting to you with clear guidance on what to do and when. The conversation is worth having before the project starts, not after.
The Permit Reality in Ventura: Who Pulls It, Who Owns It
Ventura building permits for windows and doors are governed by the California Residential Code and enforced by the City of Ventura’s Building and Safety division. The rules are straightforward but often misunderstood, and the misunderstanding shows up at inconvenient times, like when a homeowner tries to sell the house and the buyer’s inspector asks for permits on the three bedroom windows that were replaced seven years ago.
Here’s what actually requires a permit in Ventura:
- Like-for-like window replacement with no changes to the opening size or framing: generally does not require a permit. You are swapping one window for another in the same rough opening. The city still expects the installation to meet current code for flashing and drainage if the wall is opened, but the permit process itself is not triggered.
- Changing a window’s size, even slightly: requires a permit. Enlarging a kitchen window to bring in more light, shrinking a window to make room for cabinetry, or converting a double-hung to a casement with a different rough opening dimension all trigger permit review.
- Converting a window to a door or adding a new door opening: requires a permit and structural review. This is usually the most involved permit of the bunch, because it involves a new header and potentially lateral bracing requirements under California seismic code.
- Any door replacement that touches the threshold, egress width, or swing direction: may require a permit depending on scope. A straight like-for-like door slab swap typically does not. A new Door Installation in Ventura with a wider opening or a relocated hinge line does.
A homeowner can pull their own permit for their own residence. That is legal and the city will process it. But when you pull the permit yourself, you are the responsible party on record. The inspector will hold you to the code, and if the work fails inspection, you will be the one correcting it. If you sell the home and the permit history shows a homeowner-permitted window installation, the buyer’s lender or insurer may ask for more documentation than if a licensed contractor had pulled it.
When a licensed contractor pulls the permit, it sits in their name and their CSLB record, and they are responsible for every correction an inspector requires. That alone is worth something to many Ventura homeowners, especially anyone who has been through the permit process before.
The Warranty Question Nobody Reads Until It’s Too Late
Window and door warranties are split into two parts: the product warranty, which covers the glass unit, frame, hardware, and finish, and the installation warranty, which covers the labor and workmanship. Most homeowners focus on the product warranty because it is long, like a 10-year or lifetime glass seal warranty, and gloss over the installation language. That is a mistake, because the two are connected in ways manufacturers write into the fine print.
Several brands we work with, including PGT, CGI, and Therma-Tru, include installation requirements in their warranty documentation. The exact language varies by brand and product line, but the pattern is consistent: if the window or door is installed improperly or by an unlicensed party in a jurisdiction where a license is required, the manufacturer may reduce or void certain warranty coverages, particularly the glass seal failure coverage and the finish warranty on coastal-rated products.
This matters for two reasons in Ventura. First, coastal environments shorten product lifespans. A glass unit in a west-facing Ventura window near the ocean will work harder than the same unit in an inland home, and the seal failure rate is higher. If your seal fails at year eight and the warranty was voided by a non-licensed installation, you are buying a replacement IGU out of pocket. Second, the manufacturer has no way to verify the quality of a homeowner installation, so the warranty language defaults to protecting the manufacturer, not the homeowner.
Before you buy any window or door with a premium price tag, pull the warranty documentation and read the installation clause. If it requires licensed installation, factor that into your DIY-versus-professional math. A window that costs $900 DIY but carries a voided warranty may be more expensive than a $1,400 installed window with a full manufacturer and workmanship warranty. The warranty is part of the product’s value, and the installation determines whether you keep it.
For reference, our installations at Lightwell Windows Ventura home include workmanship coverage through the 365-Day Done Right Promise, and we install products from brands including ViewLux and Therma-Tru that carry manufacturer warranties designed for licensed installation. If a warranty claim comes up, we handle the manufacturer coordination for you. That is part of what the installation cost buys, and it is not something a DIY installation includes.
Common Mistakes to Avoid
- Assuming the rough opening is square because the old window looked fine. We have measured hundreds of Ventura rough openings, and a meaningful percentage are out of square by a quarter inch or more. If you order a window based on the old unit’s nominal dimensions and the opening is trapezoidal, you will spend a day shimming and cursing. A pro measures diagonals before ordering anything.
- Skipping the sill pan because the old window didn’t have one. The old window probably leaked slowly for years and the damage was hidden behind the stucco. In a coastal town like Ventura, the sill pan is not optional. If your new window doesn’t have a properly sloped pan, you’ve built a water collection point into your wall.
- Using interior-grade caulk on the exterior seal. Interior caulk is not formulated for UV exposure, temperature swing, or salt air. It will crack, shrink, and fail within a season or two. Exterior sealant rated for coastal climates costs more for a reason.
- Pulling your own permit without reading the Ventura inspection checklist first. The inspector will look for specific things: sill pan slope, flashing sequence, fastener type, and drainage plane continuity. If you don’t know what those are before the inspection, the inspection is where you learn. That’s the expensive place to learn.
- Ordering windows before checking the warranty installation clause. Once the window is purchased and installed, you cannot un-install it to restore a warranty that required licensed installation. This is a reading assignment, not a judgement call.
- Underestimating the weight of the unit and the awkwardness of the lift. A standard double-hung window weighs 50 to 80 pounds. In a tight opening on a ladder, that weight is unmanageable for one person. This is how windows get dropped, frames get dented, and people get hurt. If you must do it yourself, have a second person and a proper lift plan.
When to Call a Professional
Call a professional when any of the four red-flag conditions from this guide apply: a permit is required, there’s existing rot or water damage visible around the opening (or suspected after years of coastal exposure), the opening is above the first story, or the product’s warranty requires licensed installation. Also call if you’ve started the project and found something unexpected behind the old window, because that is the point where the scope changes and experience matters most. Lightwell Windows Ventura offers free estimates in Ventura. Call (559) 257-2350 and we’ll look at your openings, measure properly, and give you a written price before any work starts.
Frequently Asked Questions
Professional window installation in Ventura typically runs between $800 and $1,800 per window including the unit, labor, materials, cleanup, and workmanship warranty, with permits adding $150 to $400 if the project requires them. Your specific cost depends on the window brand, opening condition, access height, and whether stucco or siding repair is needed. Call (559) 257-2350 for a free estimate.
In most cases, like-for-like window replacement with no changes to opening size, framing, or egress width does not require a building permit in Ventura, but changing a window’s size, converting a window to a door, adding a new opening, or doing any structural work does. If you’re unsure, check with the City of Ventura Building and Safety division before starting.
Yes, a homeowner can pull a building permit for their own residence, but doing so makes them the contractor of record responsible for code compliance, inspection scheduling, and any corrections the inspector requires. Many homeowners choose to have a licensed contractor pull the permit in the contractor’s name so the accountability sits with the licensed professional, not the homeowner’s future liability.
With a reputable contractor, the written price should not change unless the scope changes, such as discovering rotted framing or a non-square rough opening that requires additional work. That is one of the core practices we follow at Lightwell Windows Ventura: a written price before any work starts, with no invoice surprises at the end of the day.
Vinyl, aluminum, and composite window brands are all common in Ventura, with coastal-rated options from manufacturers like PGT, CGI, and ViewLux offering impact-rated and corrosion-resistant products suited to marine environments. The best brand for your home depends on the exposure, orientation, and whether you want impact resistance or maximum energy efficiency. A consultant who carries multiple brands can match the product to your specific openings rather than offering one default answer.
For a typical single-family home with ten to fifteen windows, a professional crew in Ventura usually completes the installation in one to three days, depending on stucco conditions, access, and whether any framing repairs surface during the job. A DIY first-timer should budget six to eight hours per window for the first few openings and expect that pace to improve. Call (559) 257-2350 to get a realistic timeline for your specific home.
The Bottom Line
The DIY-versus-professional decision for Ventura windows and doors comes down to four conditions: permit requirements, existing water damage, access height, and warranty language. If none of those flags apply and you have real carpentry experience, a first-floor like-for-like swap is within reach for a careful DIYer. If any of them apply, the professional installation pays for itself in accountability, warranty protection, and the avoidance of hidden water damage that coastal climates make more likely. There’s a middle path, too: do the interior trim, painting, and hardware adjustments yourself and leave the envelope to a licensed crew. For more guides & resources on Ventura window and door projects, visit our blog.
Written by Keith Yamada, Owner at Lightwell Windows Ventura, serving Ventura since 2010.
See the difference
 Before
 After
After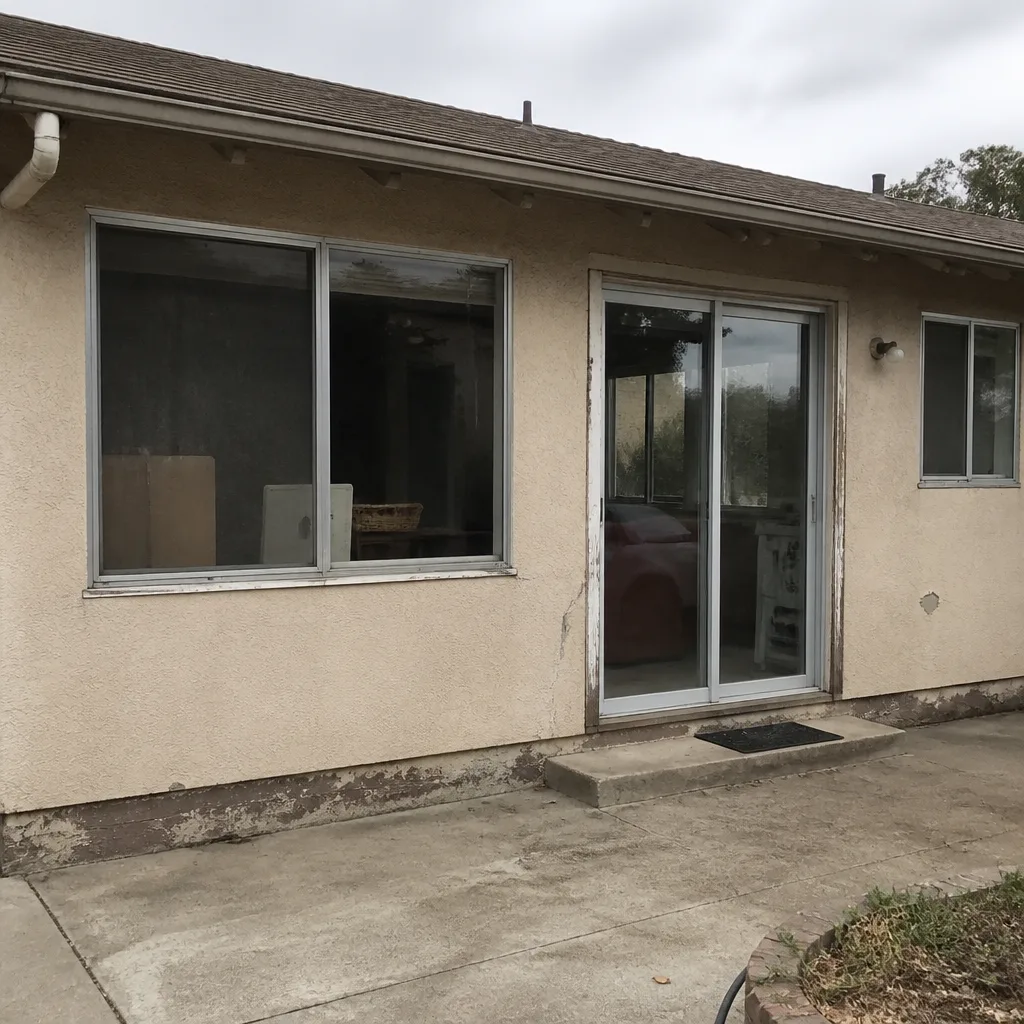 Before
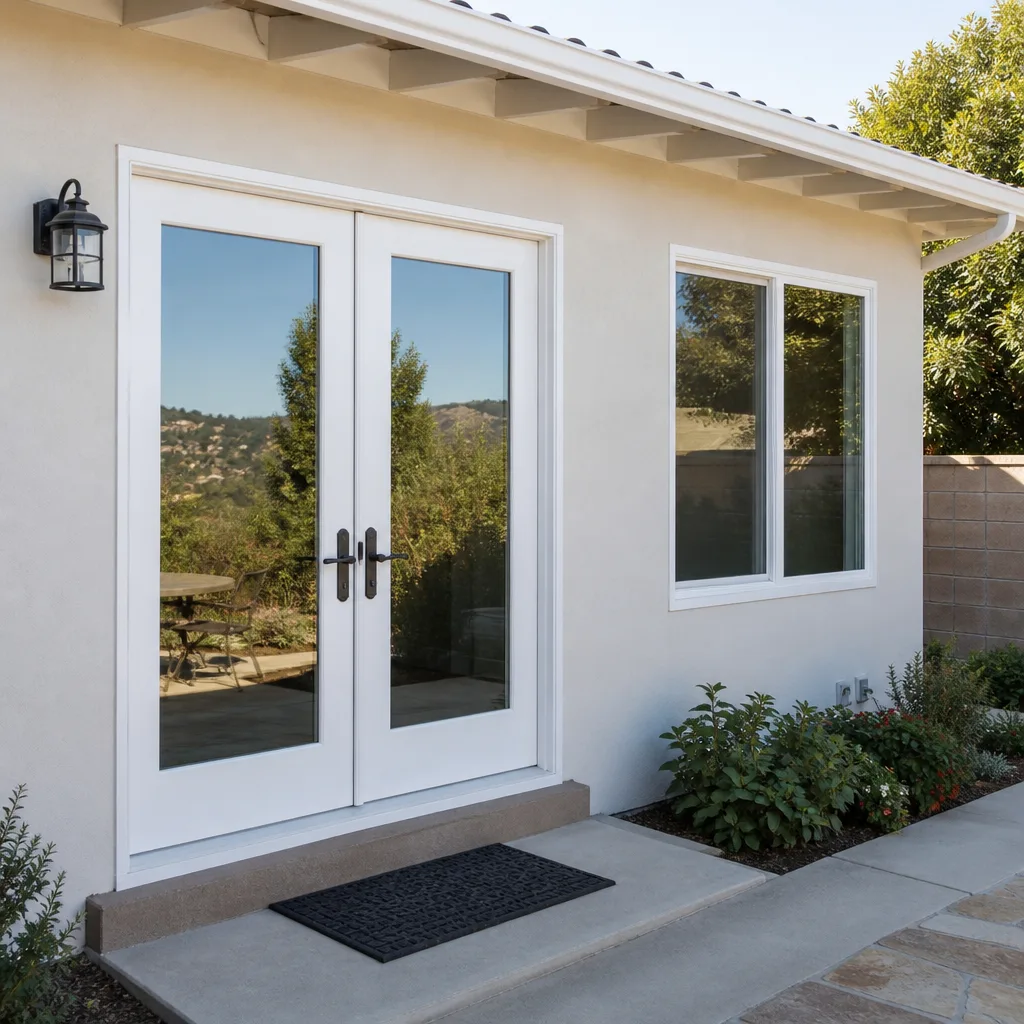 After
After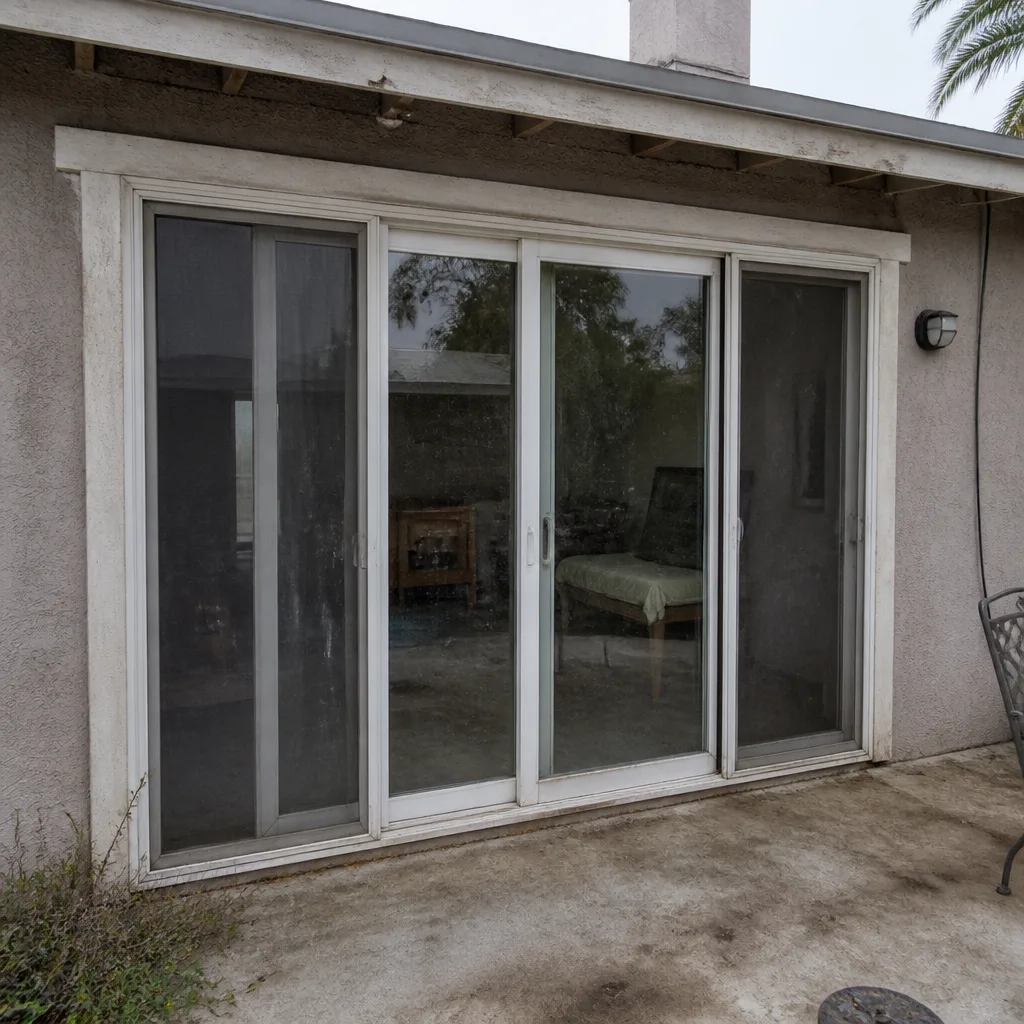 Before
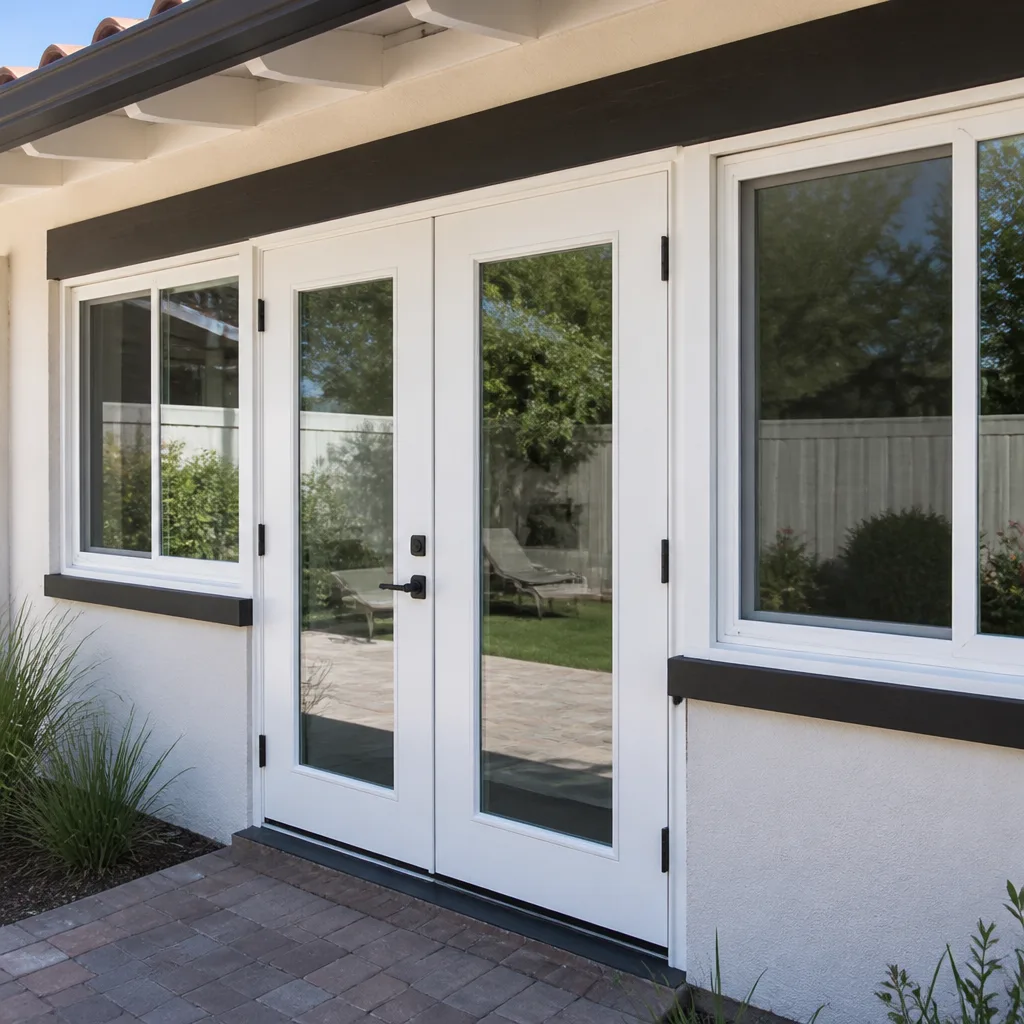 After
AfterSix Reasons Homeowners Choose Lightwell Windows Ventura
Laminated glass and reinforced frames hold up to wind-driven rain, hail and flying debris, so your openings stay sealed when the weather turns.
Low-E insulated impact glass from our manufacturer lines commonly cuts monthly cooling bills 20-30%.
Laminated impact glass shuts out up to 40% of outside noise - traffic, neighbors, weather.
Monitoring services run $30-90 a month. Laminated impact glass resists forced entry around the clock, with no subscription.
Tighter seals and insulated glass even out hot and cold rooms and stop the drafts at the frame.
A full impact package upgrades curb appeal, buyer confidence and appraised value in one project.